Multi-Signature
Enable Multi-Sig Feature
- Go to main settings (on the home view, click the “setting” icon on the top right corner).
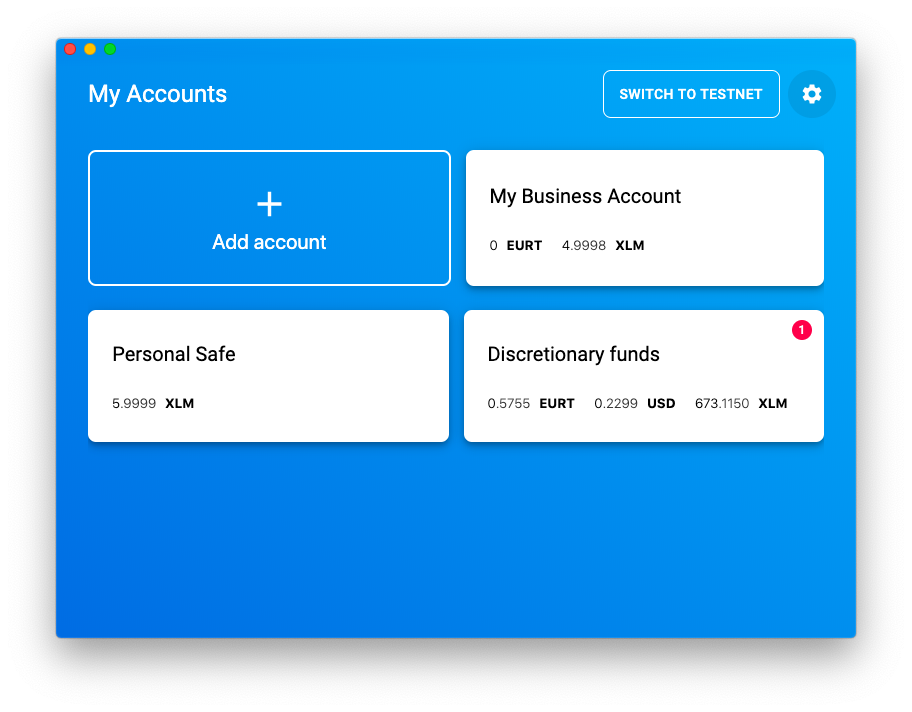
- Toggle the switch next to "Enable Multi-Signature". Now the multi-signature features are available on all accounts.
Make Account Multi-Sig
**Before making an account multi-sig, please make sure that both the multi-sig account and signer's account are activated with funds. **
- Go to the relevant account and go to settings (click the “hamburger menu” icon on the top right corner and choose "Account Settings").
- Select "Multi-Signature".
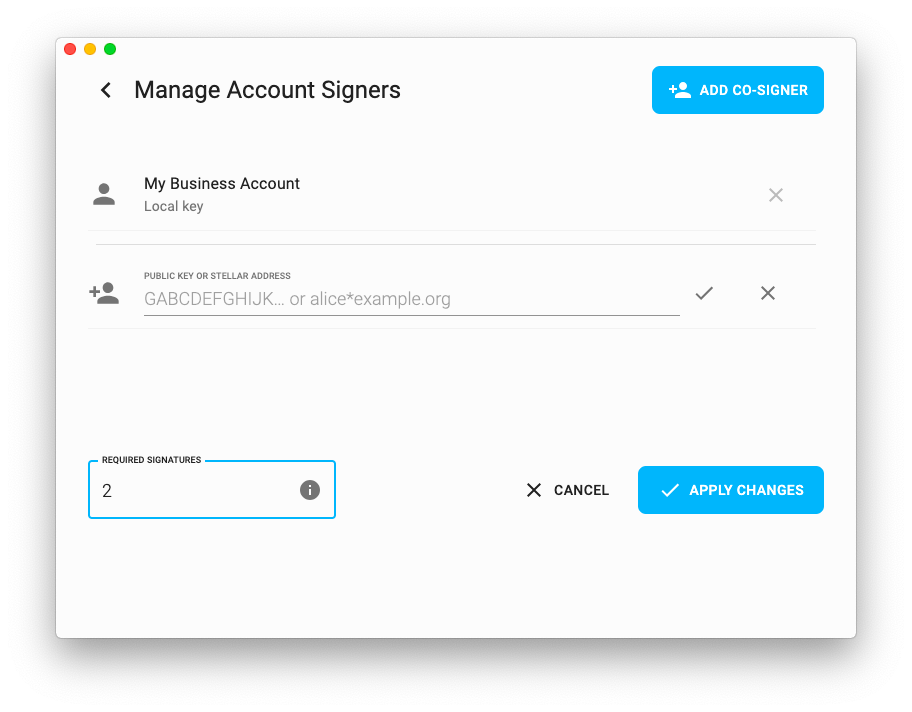
- Select "Add Co-Signer" (on desktop devices) or "signers" (on mobile devices) on the top right corner of the page.
- Add the public key of the co-signer and enter the number of "required signatures" for every transaction.
- Select "Apply Changes" (desktop devices) or "Apply" (mobile devices) to confirm it.
Tips
"Required signatures" mean the number of accounts needed to authorize a transaction. For example, this could be 3/4 for an account that requires 75% approval to make a transaction.
- To remove a co-signer, simply select the "cross" icon next to the public key of the co-signer. Only the owner of the mult-sig account can remove/add co-signers.
Create Multi-Sig Transaction
- Follow the normal procedure to send payment.
- Owners of the co-signer account(s) should go to the account page and look for "Transactions to co-sign". Click the transaction you would like to co-sogn. If there is a password, type in password and press enter to authorize the transaction. If not, simply click "Confirm" to authorize the payment.
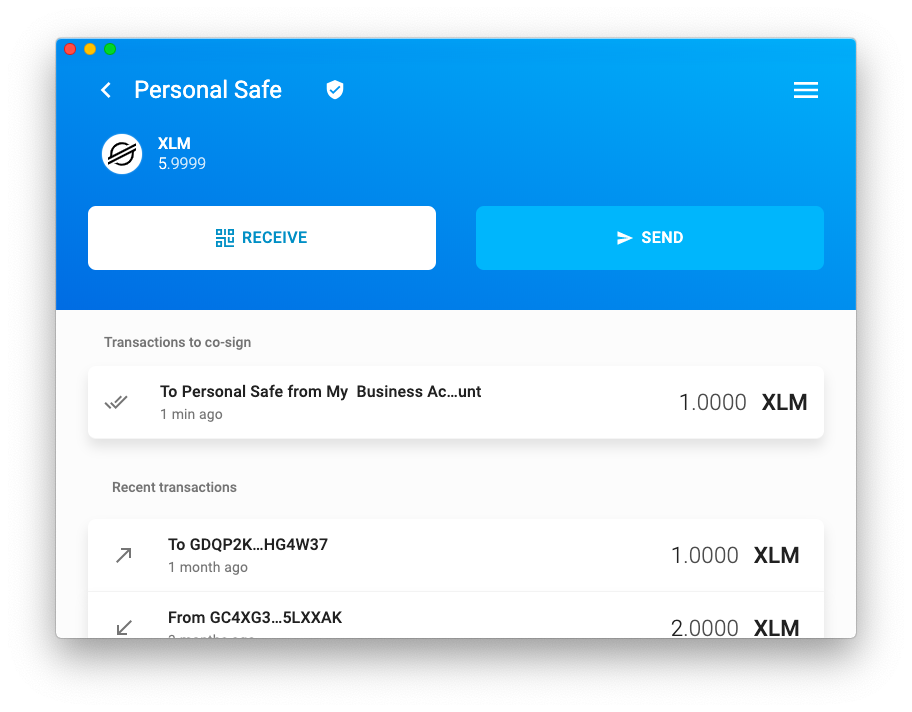
After the required number of signatures have been made, the transaction will be executed.
Multi-signature v1
Migrating to v1
You should be able to continue using your existing multi-signature setup without having to change anything. If you want to make use of the new shared account feature, however, you will have to re-import your co-signer accounts. An example scenario assuming an existing setup for a shared account with one co-signer:
- Create a backup of the secret keys of your existing co-signer account.
- Copy the public key of the shared account.
- Delete the co-signer account from Solar.
- Go to 'Add Account' > 'Import Account' and paste the secret key of your existing co-signer into the respective input field.
- Now click the toggle for 'Co-signs shared account' and paste the public key of the shared account into the new input field.
- Finish the account import and you should now see the balances and transactions of the shared account.
What's new
New user interface
Editing an accounts multi-signature configuration is facilitated by offering three different setup options, i.e. "Single Signature", "Collective signing", and "Backup keys".
Co-sign a shared account
You can now choose to join a shared account when adding a new account. This way you can see the balances and transactions of the shared accounts. If the shared account also adds your public key as a co-signer you have access to the same features as if you imported its secret key. There are two ways to join a shared account: either with an existing keypair or with just the public key of the shared account so that a new account keypair is generated for you.
SEP-0019 compliance
If available the account data entry config.multisig.coordinator is used to determine the multi-sig endpoint of an account. If this entry does not exist a new account data entry will be created pointing to the default multi-sig endpoint used by Solar. For more information see SEP-0019.